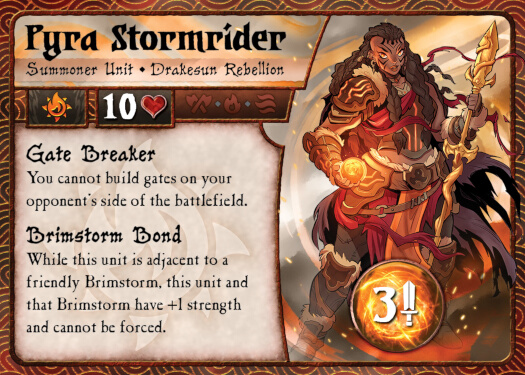
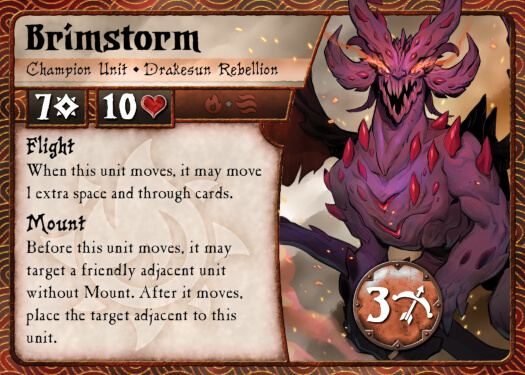
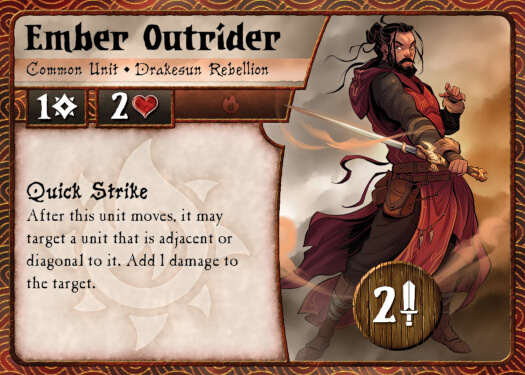
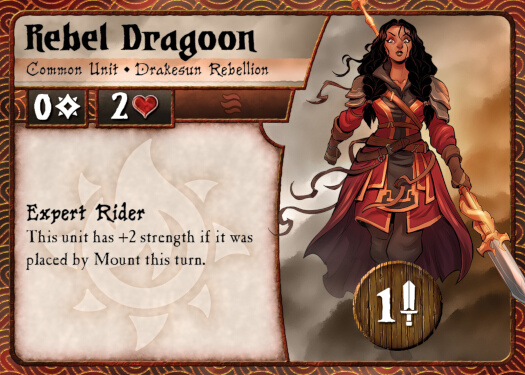
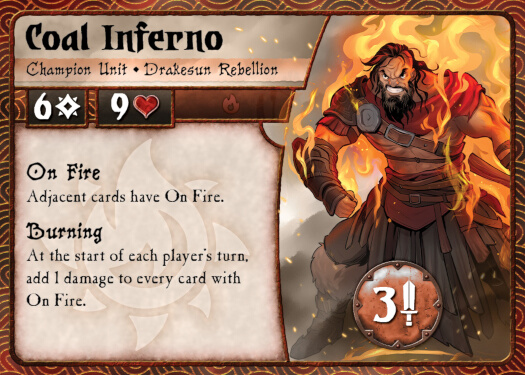
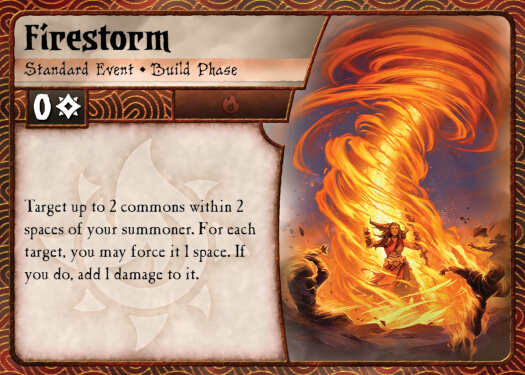
Pyra has two standout features when compared to her fellow summoners. First, her starting setup includes the terrifying Brimstorm. When combined with Brimstorm Bond, the pair represent one of the strongest summoners with a flexible 4 strength range or melee attack and a combined total of 20 health. They are also immune to force effects which can neuter several factions’ deadliest combos. With Brimstorm’s Mount and Flight, your enemy will have a difficult time preventing Pyra from hitting something during her turn.
On the flip side, once Brimstorm is taken down, Pyra’s effectiveness plummets dramatically. Without Brimstorm, Pyra is perhaps the weakest summoner in the game. Taking critical levels of damage on either summoner or mount can really hamper the threat that Pyra can exert. It’s important that, during the initial stages of the battle, you position Pyra and Brimstorm carefully to limit the amount of damage either can receive. Swapping between summoner and dragon to evenly distribute damage amongst them can keep Pyra and Brimstorm active well into the late game.
The second feature to keep in mind is Gate Breaker. While Pyra may hate gates, that doesn’t mean that the player has to as well. The Drakesun Rebellion is one of the most gate reliant factions and knowing how to maximise your gate placements is vital. Thankfully, the rebels are flexible in their positioning and there are several layouts which can be effective depending on the game progression and opposing faction.
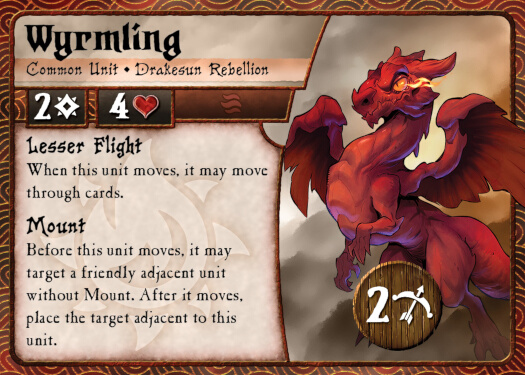
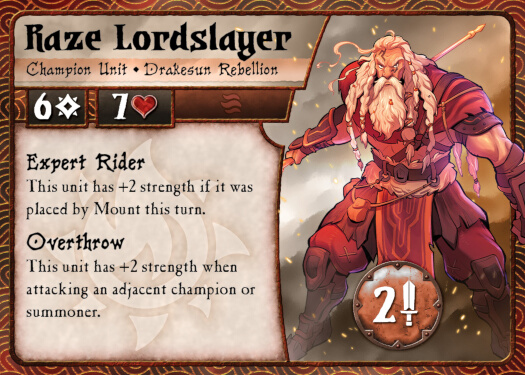
Incidentally, the Drakesun Rebellion shares a few characteristics with the Cave Goblins. Mount and Cling are functionally similar. As such, staggered gates are just as effective for the rebels as they are for the goblins. Granted, where they differ is in Pyra’s inability to place gates on the opponent’s side of the battlefield. That means, the most aggressive you’ll be able to place a gate is in the fourth row. Gates in the L-shaped position from one another provide two sides which can be used for mounting.